Key Takeaways:
Sealing your driveway is an essential task that can significantly extend its lifespan, enhance its appearance, and protect it from the elements. Whether you have a concrete or asphalt driveway, regular sealing helps prevent cracks, stains, and other damage caused by weather, oil spills, and daily wear and tear.
In this detailed guide, we'll walk you through the steps to seal your driveway like a pro, ensuring a smooth, long-lasting finish. We'll also explore why partnering with a reputable San Diego general contractor or San Diego hardscaping contractor can make all the difference in achieving professional results.
Driveway sealing is a maintenance task that homeowners often overlook, but it's crucial for preserving the integrity and appearance of your driveway. Sealing your driveway acts as a protective barrier, preventing issues and keeping your driveway looking new.
Whether you're a DIY enthusiast or prefer to hire a professional, understanding the process of driveway sealing can help you make informed decisions. By following the steps outlined below, you can ensure that your driveway remains in top condition for years to come.
Before diving into the sealing process, it's important to understand the benefits of sealing your driveway:
Your driveway is constantly exposed to the elements, including harsh sunlight, rain, and freezing temperatures. These factors can cause your driveway to crack, fade, and deteriorate over time. Driveway sealing provides a protective layer that shields the surface from these damaging effects.
Cracks and potholes are not only unsightly but also hazardous. Sealing your driveway fills in small cracks and prevents water from seeping into the base material. This reduces the risk of larger cracks and potholes forming, which can be expensive to repair.
A freshly sealed driveway instantly improves the appearance of your home. The deep, rich color of a newly sealed driveway adds to your property's curb appeal, making it more attractive to potential buyers if you decide to sell.
Regularly sealing your driveway is a cost-effective way to maintain it. While the initial cost of sealing may seem like an added expense, it can save you money in the long run by preventing costly repairs and extending the life of your driveway.
Proper preparation is key to a successful driveway sealing project. Here's how to get your driveway ready:
Start by thoroughly cleaning your driveway. Remove any dirt, debris, and stains using a broom, leaf blower, or pressure washer. For oil stains, apply a degreaser and scrub the area with a stiff brush. Cleaning the surface ensures that the sealant adheres properly and provides a smooth finish.
Before sealing, inspect your driveway for cracks and holes. Use a crack filler or patching compound to fill in any gaps. Allow the filler to dry completely before proceeding. If the cracks are extensive, consider consulting a San Diego general contractor for professional repair services.
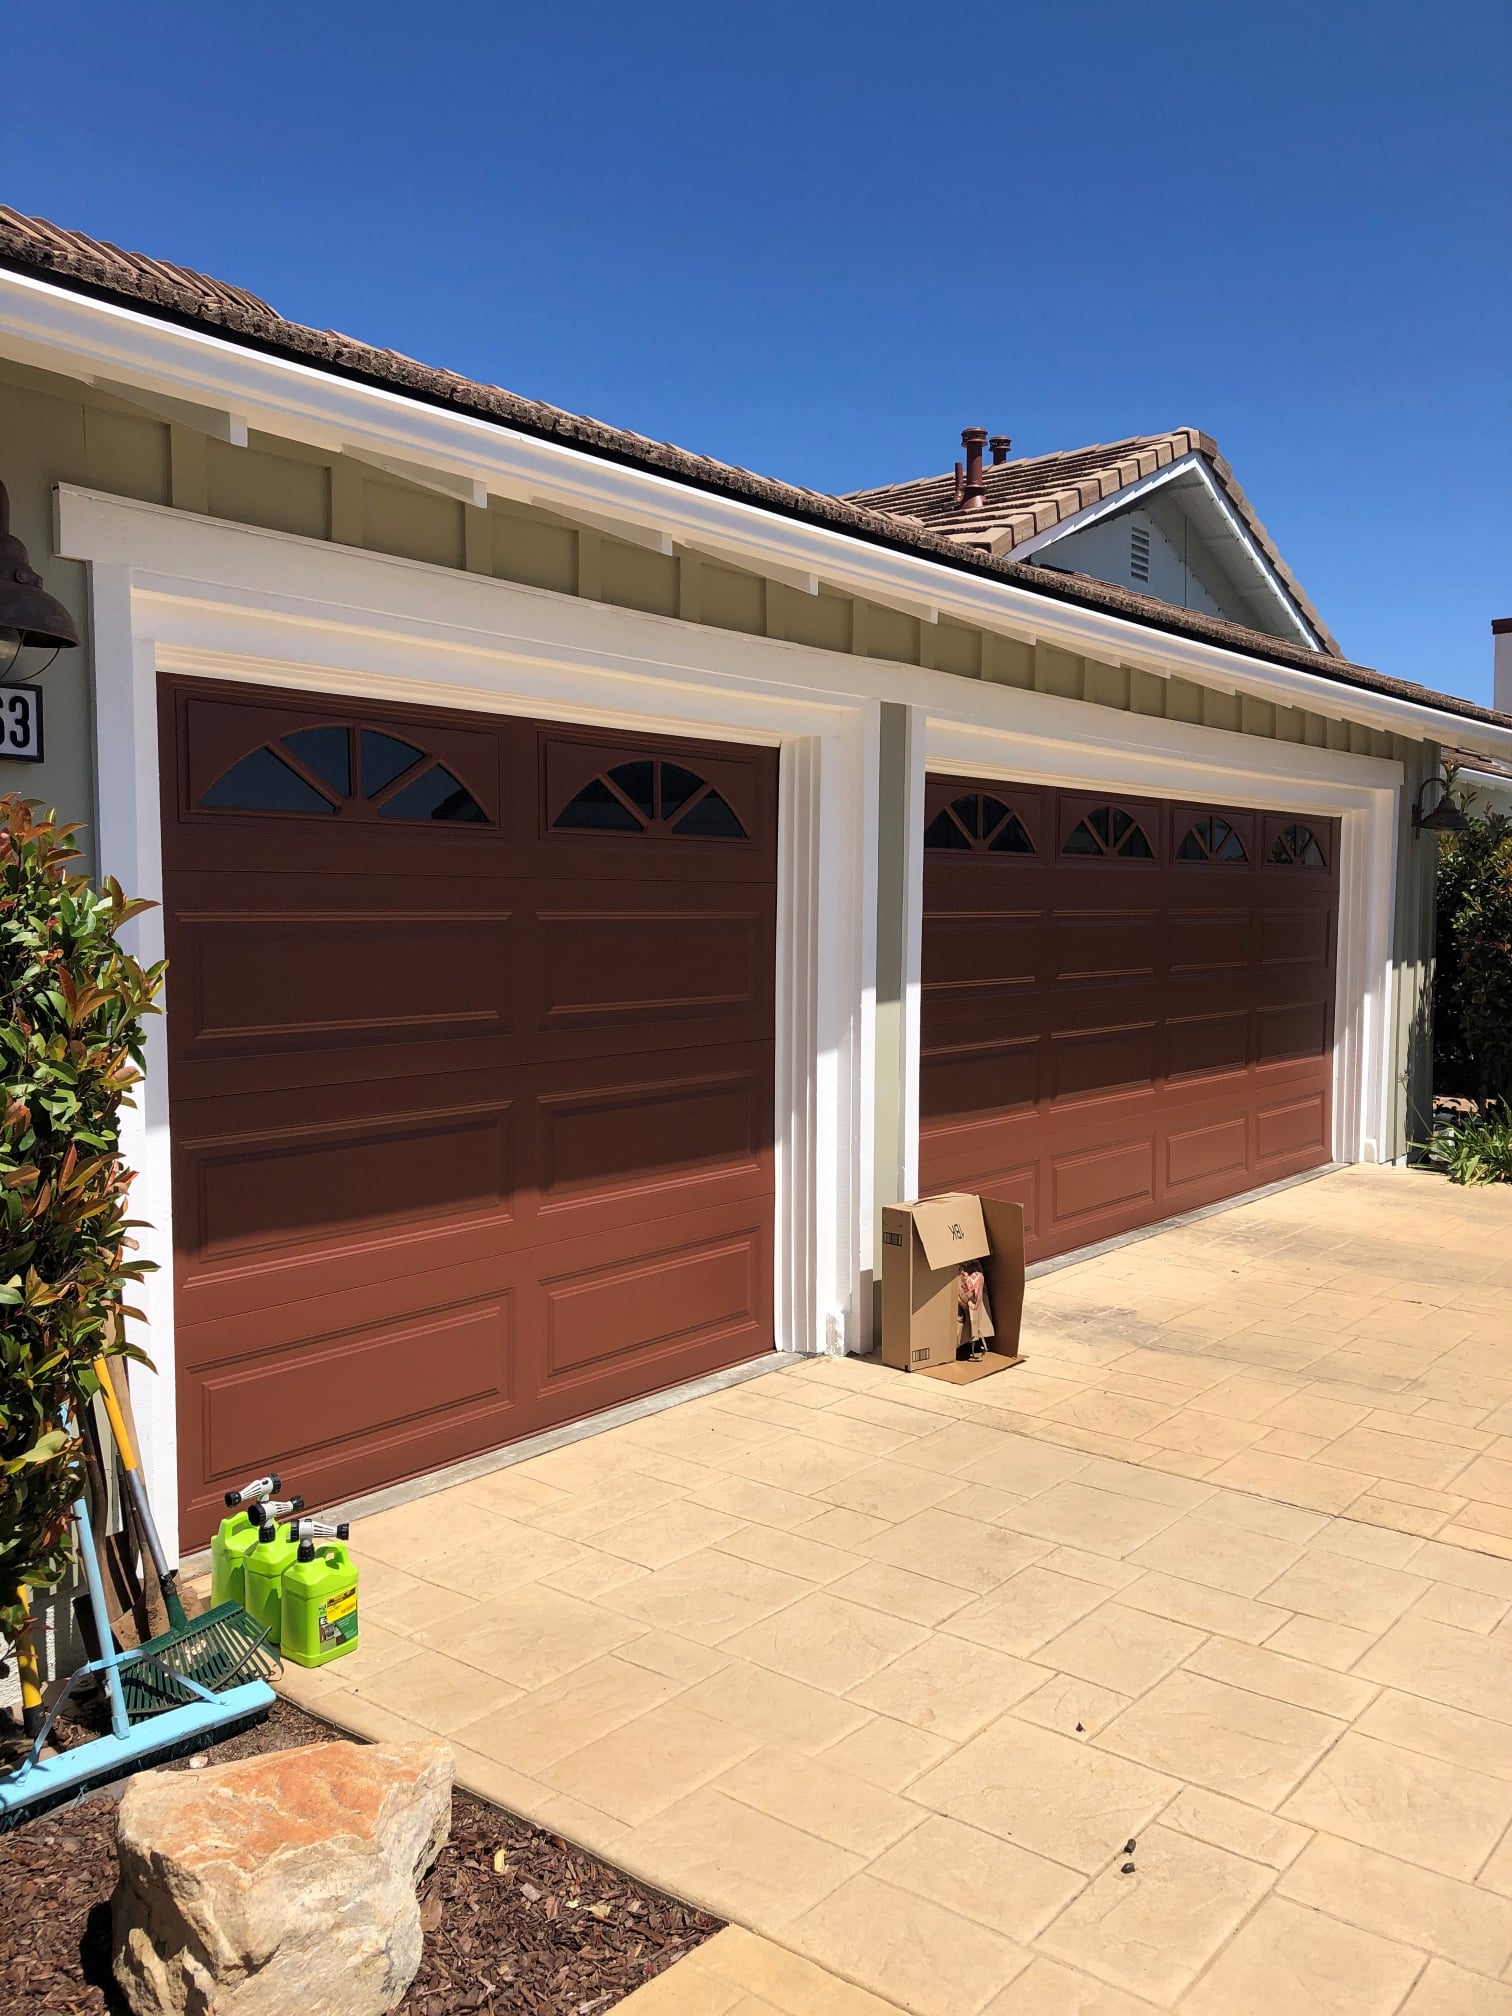
To avoid getting sealant on surfaces you don't want to be sealed, such as garage doors, sidewalks, or landscaping, use painter's tape to cover these areas. This will give you clean, straight edges and prevent accidental spills.
Sealing your driveway requires dry weather conditions. Check the weather forecast and choose a day when no rain is expected for at least 24 hours after application. Additionally, the temperature should be between 50°F and 90°F for optimal results.
Once your driveway is prepped and ready, it's time to start the sealing process. Follow these steps to ensure a professional finish:
Before you begin, gather all the materials you'll need, including:
Driveway sealant can separate over time, so it's important to mix it thoroughly before application. Use a mixing stick or drill attachment to stir the sealant until it has a consistent texture. This ensures even coverage and prevents streaks.
Start at the highest point of your driveway and work your way down. Pour a small amount of sealant onto the surface and use the squeegee or brush to spread it evenly. Apply the sealant in thin, overlapping layers, working in sections to prevent the sealant from drying too quickly.
For edges and tight spots, use a paint roller for precise application. Be sure to maintain a wet edge to avoid lap marks.
Once you've covered the entire driveway, allow the sealant to dry according to the manufacturer's instructions. This usually takes 24-48 hours, depending on the weather conditions. During this time, keep vehicles, pets, and foot traffic off the driveway to prevent damage.
For added protection and a longer-lasting finish, consider applying a second coat of sealant. Follow the same process as the first coat, and allow it to dry completely before using your driveway.
While sealing your driveway is a manageable DIY project, there are times when hiring a professional is the best option. If your driveway has extensive damage, or if you're unsure about the sealing process, a San Diego hardscaping contractor can provide expert services to ensure a flawless finish.
Professional contractors have the experience, tools, and materials needed to tackle even the most challenging driveway sealing projects. They can also recommend the best sealant for your specific driveway type, ensuring maximum durability and protection.
Sealing your driveway is a straightforward process that can greatly enhance the appearance and longevity of your driveway. By following the steps outlined in this guide, you can achieve professional results that protect your investment and improve your home's curb appeal.
Ready to give your driveway the protection it deserves? Get a Quote Today and preserve your driveway for years to come.