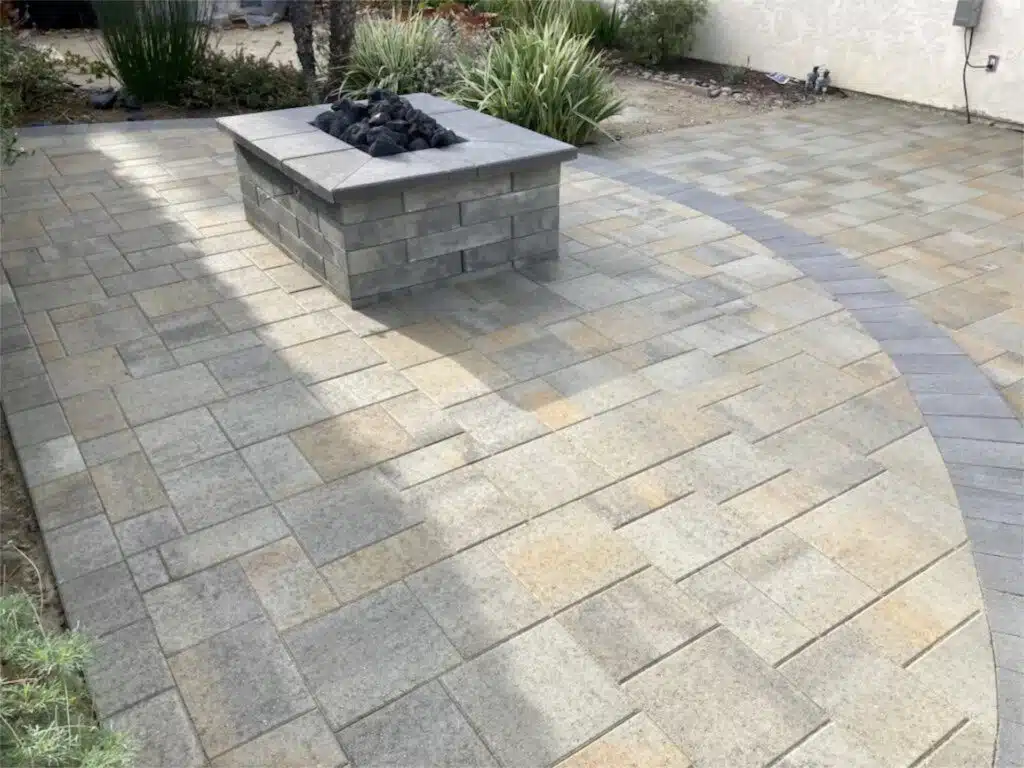
Installing paver stones is a great way to add beauty, functionality, and value to your outdoor living space. Paver installation can be done by yourself or with the help of a professional paver contractor. Whether you choose DIY paver installation or enlist the help of a pro, it’s important to understand all aspects of paver installation in order to get the best results for your project. In this blog we will discuss what you need to consider when planning a paver stone installation project including selecting materials, preparing the area for paving and how to lay pavers correctly. With these tips and tricks in mind, you can create an attractive outdoor living space that will last for years!
Before beginning paver installation, you need to select the paver stones that best suit your needs and budget. Consider characteristics such as color, design, size, shape and finish when selecting paver stone materials for your project. Additionally, you may need to make sure the material meets any local building codes or regulations; it’s always better to double-check before moving forward with paver stone purchases.
Once paver stones have been selected and purchased, it’s time to prepare the area for paver installation. Begin by removing all existing surface materials such as grass or dirt from the space; this will ensure that paver stones can be laid on a flat and even base. You will then need to excavate the paver stone area to a depth of about 8 inches. Make sure to compact and level the paver base material before laying paver stones onto it.
Now that you have chosen paver stones, prepared the paver stone area and are ready to start laying pavers, it’s time to begin installation. Begin by laying paver stones along one side of the excavation line. Use a rubber mallet or your hand to press each paver into place; make sure there is an even clearance between all paver stones (usually 3/8th of an inch). As you work your way around the excavation line, use a spirit level or string line as a guide so each row is flat and even with the paver stone pattern. Once paver stones are in place, use paver sand or polymeric sand to fill all the gaps between each paver and sweep it into place.
If you followed these steps and tips for paver installation, then your outdoor living space will be both attractive and durable. The end result of paver stone installation is beautiful, functional and valuable hardscaping that will last for years to come! In order to ensure the best results for your project, we also recommend consulting with a professional paver contractor if you have any questions or concerns about paver installation.
And there you have it: a comprehensive guide on how to install paver stones! With this information in mind, you can create a beautiful paver stone patio or walkway that will add aesthetic and monetary value to your property. If you still have questions about paver installation, please consult with a paver contractor for more information. Good luck!